
Cobalt Drill Bit for Metal: Choose the Grade and Speed
Choose M35 or M42 cobalt drill bits for metal, calculate a starting RPM, avoid rubbing in stainless, and verify the finished hole.
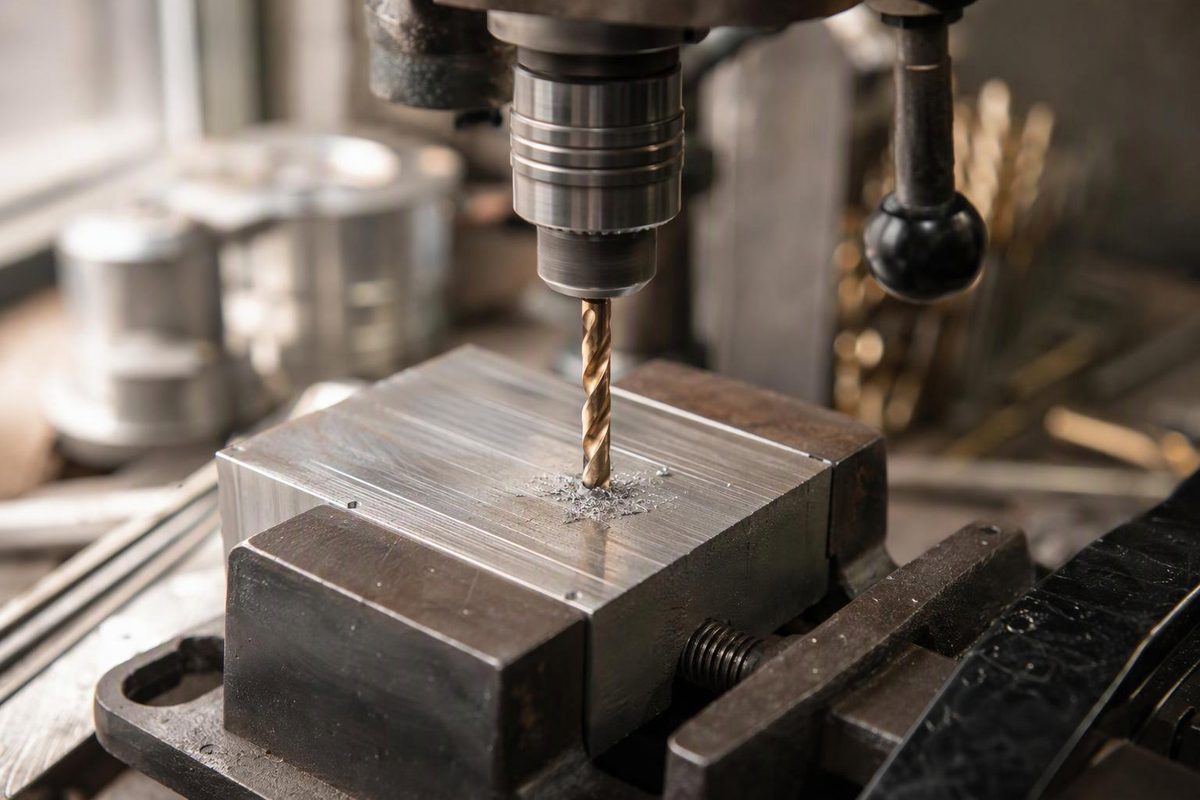
A cobalt drill bit is a useful option for stainless steel and tougher metal-drilling jobs, but the cobalt label does not settle the whole choice. You still need the correct diameter, point geometry, usable length and speed—and a setup that lets the cutting edges cut rather than rub.
For a bracket or tapped mounting plate, settle the required hole first, then choose the drill material. A better alloy cannot correct an oversized tap hole or misplaced bolt hole.
What M35 and M42 actually mean
Cobalt drills are high-speed steel alloyed with cobalt, not bits made from pure cobalt. Two common grades are:
- M35: about 5% cobalt. IRWIN identifies its cobalt drills as M35 and explains that the alloy extends through the bit. Correct sharpening does not remove that alloy benefit, even when the gold surface colour disappears. See IRWIN’s material explanation.
- M42: about 8% cobalt. Norseman describes this addition as increasing hot hardness—the ability to retain hardness at elevated cutting temperatures. Its M42 jobber drills have a 135° split point and require rigidly held, positive-feed equipment. See Norseman’s M42 specifications.
Do not buy by gold colour alone. Read the grade and application data. Cobalt content and coating are separate specifications: Norseman also offers TiN-coated M42 drills.
M42 is not automatically the better garage-shop purchase. If its specified setup requires rigidity and controlled feed that your job cannot provide, more cobalt does not solve that mismatch. Choose a drill whose maker explicitly supports the material and drilling method you intend to use.
For ordinary mild-steel work, also consider a suitable standard HSS drill. For heat-treated or unknown hard steel, establish the hardness and check the drill maker’s limits rather than assuming “cobalt” means it will cut anything.
For stainless, check the point and length
For common austenitic stainless grades such as 304 and 316, work hardening is a major drilling problem. The British Stainless Steel Association recommends rigid tooling, sharp drills, preferably short lengths to reduce deflection, and a cutting angle around 135°. It also notes that standard HSS drills can be suitable; cobalt is not a universal requirement. See BSSA’s stainless-drilling guidance.
A practical buying checklist is:
- The exact diameter required by the drawing or tap maker—not the nearest bit in a fractional set.
- A point geometry specified for the metal, with a 135° point worth considering for 304/316.
- The shortest drill that still provides enough flute length and access for the hole.
- A shank your chuck accepts and documented material applications.
Use the drill diameter chart to compare nominal sizes. For tapping, identify the complete thread and tap type before buying the drill; a 1/4-inch tap’s full marking changes the required hole.
Set speed from diameter, not the cobalt label
Use the drill maker’s cutting data when available. For a baseline calculation, Norseman’s general HSS chart lists 30–50 surface feet per minute for stainless and 80–110 SFM for mild steel containing 0.2–0.3% carbon. Its formula is:
RPM = 3.82 × SFM ÷ drill diameter in inches
The following values are calculated from the lower ends of those ranges, not from a cobalt-specific high-speed allowance. Source: Norseman feeds and speeds.
| Drill diameter | Stainless at 30 SFM | Mild steel at 80 SFM |
|---|---|---|
| 1/8 in. | 920 RPM | 2,440 RPM |
| 1/4 in. | 460 RPM | 1,220 RPM |
| 1/2 in. | 230 RPM | 610 RPM |
These are rounded starting calculations for suitable conditions, not guaranteed settings. Hole depth, material condition and machine rigidity matter. Notice that doubling diameter halves RPM: “run every metal drill as slowly as possible” is not a useful rule.
Drill, then verify the part
- Locate and secure the work. Check the hole position from the drawing datums. Clamp the part against rotation and support the exit side with a backing plate where practical. In stainless, avoid a heavy centre-punch crater: BSSA warns that conventional punching can locally work-harden the entry.
- Prepare the machine. Follow its manual, secure the bit, remove the chuck key, wear eye protection and use a cutting lubricant appropriate to the metal. At a drill press, keep guards in place, tie back long hair and do not wear gloves, loose clothing or jewellery.
- Maintain a cutting feed. In 304/316, do not let the bit dwell against the surface or spin in the hole without advancing. BSSA advises maintaining feed through the work-hardened layer and clearing chips before they clog. If progress stops, stop and inspect the edge, chips and setup rather than adding speed blindly.
- Control breakthrough. Reduce pressure as the drill exits. Wait until the spindle has completely stopped before clearing chips with a brush, inspecting or measuring. These precautions follow CCOHS drill-press guidance.
- Deburr and check the finished hole. Verify diameter, location and fit with equipment appropriate to the tolerance. The marking on the drill is its nominal size, not a measurement of the hole it produced. Do not use the tap or mating bolt to force a misaligned hole into agreement.