
High Speed Steel Drill Bit: Choose It and Set the Speed
Choose an HSS drill bit by material, point and hole size, calculate a starting RPM, and check the finished hole before tapping or assembly.
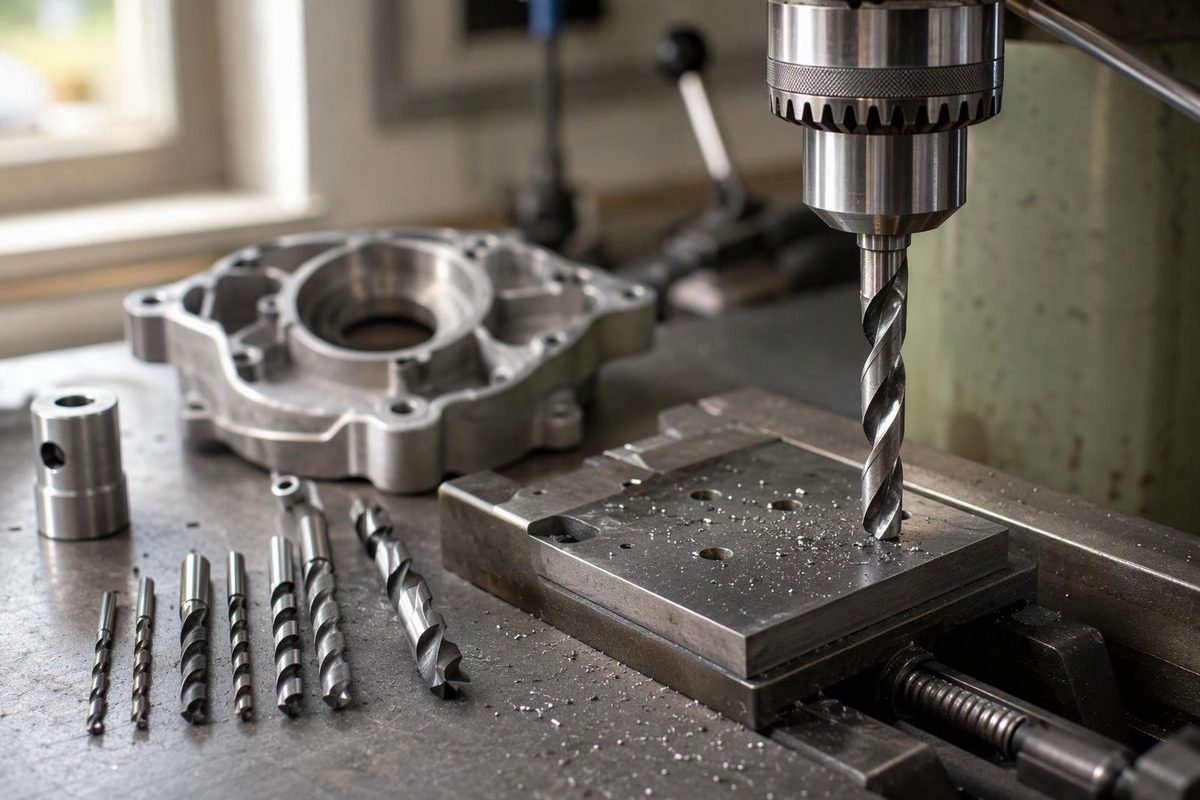
A high speed steel drill bit is a sensible starting choice for ordinary mild-steel and aluminum holemaking. HSS describes the cutting-tool material—not an instruction to run the drill at maximum speed. It is a tool steel with greater heat resistance than high-carbon steel, suitable for drilling metal and other materials. Norseman’s HSS overview explains that distinction.
For a bracket, spacer or tapped mounting hole, settle three things before buying the bit: the stock material, the required hole diameter and the machine’s available speed range. A more expensive coating cannot correct the wrong hole size or loose workholding.
Read the material and point specification
The labels describe different features; they are not necessarily competing products.
| Marking or description | What it tells you | Practical decision |
|---|---|---|
| HSS | The bit’s base material is high speed steel | Start here for ordinary mild steel and aluminum; check the maker’s material recommendations. |
| Cobalt HSS or HSS-Co | A cobalt-bearing high speed steel grade | Consider a material-specific drill for tougher work; check the exact grade and equipment requirements. |
| TiN-coated | Titanium nitride is a surface coating | Read the base-material specification too. TiN can be applied to ordinary HSS or cobalt HSS. |
| 118° point | The included point angle | A common general-purpose configuration. |
| 135° split point | The point angle plus a modified center grind | Useful for easier penetration and self-centering starts; still verify the hole location. |
For concrete examples, Norseman’s M42 cobalt drills contain 8% cobalt to increase hot hardness, and that range requires rigidly held, positive-feed equipment. Its TiN range includes both 118° HSS and 135° split-point designs, as well as coated M42 cobalt drills. Dormer likewise identifies split points as low-thrust, self-centering designs.
Do not assume “cobalt” alone solves stainless drilling. Geometry and the setup matter: Norseman also recommends a hi-molybdenum HSS screw-machine drill for work-hardening stainless grades. Choose from the manufacturer’s recommendations for the actual alloy, rather than a blanket “all stainless” claim.
Set RPM from diameter—not from the HSS label
Cutting speed is the speed of the cutting edge around the hole. At the same RPM, a larger bit’s outer edge travels faster.
For inch-sized drills:
RPM = 3.82 × cutting speed in surface feet per minute ÷ drill diameter in inches
Norseman’s HSS speed guide gives 80–110 SFM for mild steel containing 0.2–0.3% carbon, and 30–50 SFM for its stainless/high-nickel category. Using the lower ends produces these rounded examples:
| Bit diameter | Mild steel at 80 SFM | Stainless category at 30 SFM |
|---|---|---|
| 1/4 in. | 1,220 RPM | 460 RPM |
| 1/2 in. | 610 RPM | 230 RPM |
These are calculated starting references, not universal settings. The guide explicitly calls for adjustment to drilling conditions. Use the drill maker’s alloy-specific data where available, and account for hole depth, lubrication and machine rigidity. For heat-treated high-tensile stock, the same guide directs users to consult the material supplier.
Drill, then verify the hole
- Define the hole’s job. A tap-drill hole and a bolt-clearance hole are different targets. Record the specified diameter before selecting the bit. Use the drill diameter chart to distinguish fractional, number, letter and metric sizes—not to substitute a nearby size without checking the fit requirement.
- Secure and align the stock. Follow the machine manual and keep guards in place. Clamp the work or use a secured drill vise; do not hold a small bracket by hand. Wear eye protection, remove the chuck key, confine hair and loose clothing, and do not wear gloves around a running drill press. These are core CCOHS drill-press precautions.
- Use a sharp, undamaged bit and suitable cutting lubricant. Feed steadily within the tool and machine’s capacity. If progress stops, stop and inspect rather than adding excessive pressure. Norseman links poor tool life to excessive speed, insufficient feed, unsuitable geometry and coolant problems.
- Clear chips and control breakthrough. Norseman recommends withdrawing at intervals to clear chips when flute clogging causes binding, a common problem in deep holes. Reduce drilling pressure as the point breaks through. Stop the machine before clearing chips with a brush or checking the work. CCOHS covers breakthrough pressure, chip removal and stopping before measurement.
- Deburr and inspect before tapping or assembly. Check location, diameter and fit against the drawing. A nominal bit diameter is not proof of the finished hole: an off-center point, spindle runout or moving work can produce an oversized hole. Where a precise bore is required, plan a finishing operation such as reaming rather than relying on the twist drill alone; Dormer describes reamers for improved hole size and finish.
The useful purchase specification is therefore more than “HSS”: write down diameter, stock alloy, point geometry, required reach, shank fit and recommended cutting data. Keep the finished-hole check separate from that tool specification.