
10-24 Tap Drill Size: Use a #25 Drill
Use a #25 drill (0.1495 in.) for a standard 10-24 cutting tap. Compare metric and fractional alternatives, check tap type, and verify finished fit.
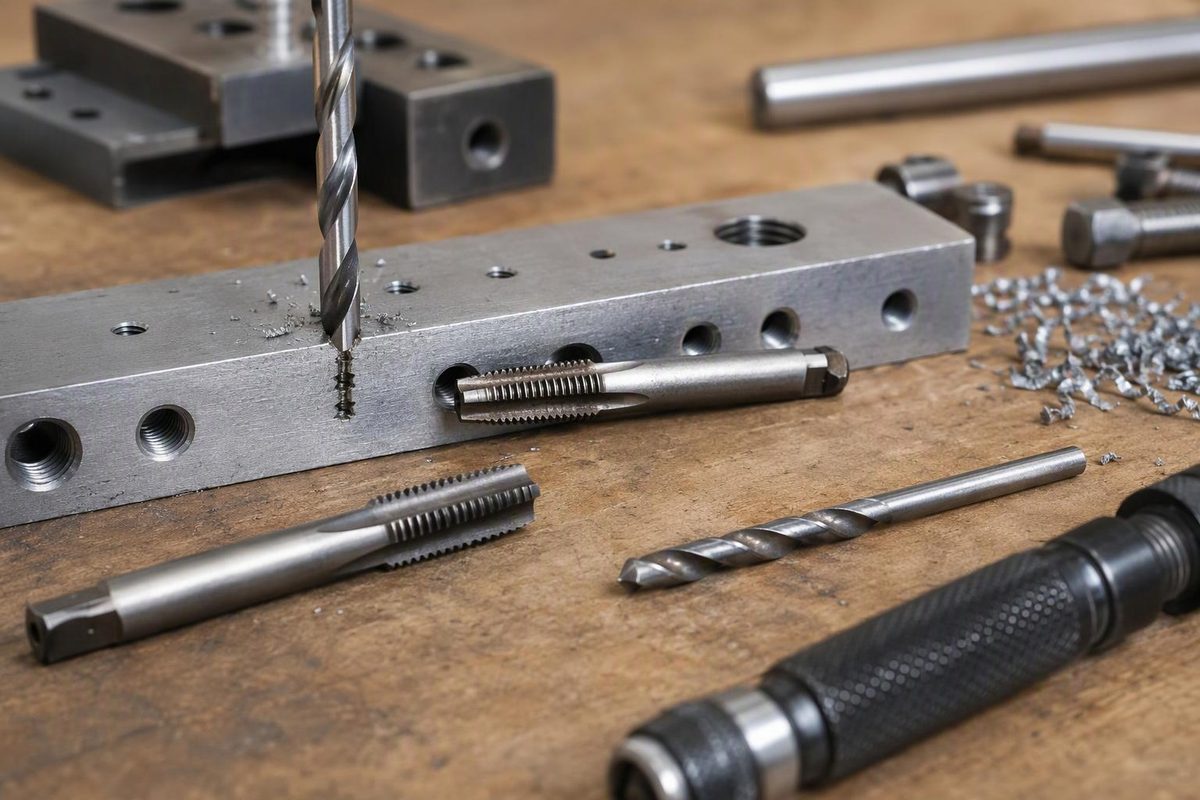
Use a #25 drill bit, nominally 0.1495 inch (3.7973 mm), for a standard 10-24 UNC cutting tap. Alfa Tools lists this pairing in its tap-drill chart, with 3.80 mm as the metric option. This is the hole you drill before cutting the internal thread—not a clearance hole for a screw to pass through.
Check the full tap marking
The 10 identifies a #10 machine screw, whose nominal outside thread diameter is 0.190 inch, according to Bolt Depot’s machine-screw diameter table. The 24 means 24 threads per inch.
Do not confuse 10-24 with 10-32. They share the same nominal screw diameter but have different pitches. Alfa’s chart lists a #21 drill, 0.1590 inch, for a standard 10-32 cutting tap—not the #25 used for 10-24. For identifying an unmarked screw, see the #10 screw diameter and pitch guide.
Also check the tool type. The #25 recommendation is for cutting taps, not forming taps or insert-installation taps. Haas’s roll-tap drill chart gives 4.3 mm as a starting hole size for a 10-24 roll tap and says the hole may need adjustment for tolerance, material and hardness. Follow the specific tap maker’s instructions rather than applying a cutting-tap chart to those tools.
Can you use a metric or fractional bit?
| Drill | Nominal diameter | Compared with #25 |
|---|---|---|
| #25 | 0.1495 in. | Standard cutting-tap choice |
| 3.8 mm | About 0.1496 in. | Very close metric option |
| 9/64 in. | 0.140625 in. | Smaller; not an equivalent |
| 5/32 in. | 0.15625 in. | Larger; not an equivalent |
A 3.8 mm bit is the useful substitute here. Alfa lists it alongside #25 for 10-24. The fractional comparisons above are calculated from their nominal dimensions: neither 9/64 nor 5/32 matches the recommended hole.
The smaller hole leaves more material for the tap to cut; the larger hole leaves shallower threads. Do not select either merely because it is already in the drill index. Any intentional change in hole size should come from the tap manufacturer’s guidance and the joint requirements.
Alfa lists the #25 pairing at a probable 71% thread. That is a thread-depth estimate, not a guarantee of joint strength or a measurement of how much screw length is engaged.
Drill, tap and check the finished hole
- Confirm the thread and material. Read the tap marking and choose a cutting fluid suitable for the workpiece. Clamp the stock securely before drilling.
- Set the depth before cutting. For a blind hole, allow for the drill point, the tap’s incomplete lead threads and space for chips. Required full-thread depth is not the same as total drilled depth. Check the actual tap geometry rather than adding an arbitrary allowance; Clarkson-Osborn’s blind-hole tapping guidance explains the need for lead clearance and chip space below the complete threads.
- Drill and deburr. Use the #25 or specified 3.8 mm bit, keep the hole square to the intended mounting face, and remove the entry burr without making a deep countersink.
- Start the tap square. Use a tap wrench and guide where practical. For conventional hand tapping with a straight-flute cutting tap, periodically reverse to break chips. IRWIN’s tapping instructions emphasize perpendicular alignment, chip breaking and cutting fluid. Stop if resistance rises sharply rather than forcing the tap.
- Clean and verify. Remove chips and try a known, undamaged 10-24 screw by hand through the required engagement length. It should not bind or bottom before the joint seats. Where a drawing specifies a thread tolerance, use the appropriate thread gauge; a screw-fit check alone does not certify that tolerance.
The bit marking establishes the nominal starting size. The finished hole and thread still need checking before the part goes into the assembly.