
Set Screw: Choose the Point, Check the Fit and Tighten
Match a set screw to the shaft, identify thread and length, check the tapped hole, and distinguish tightening torque from holding capacity.
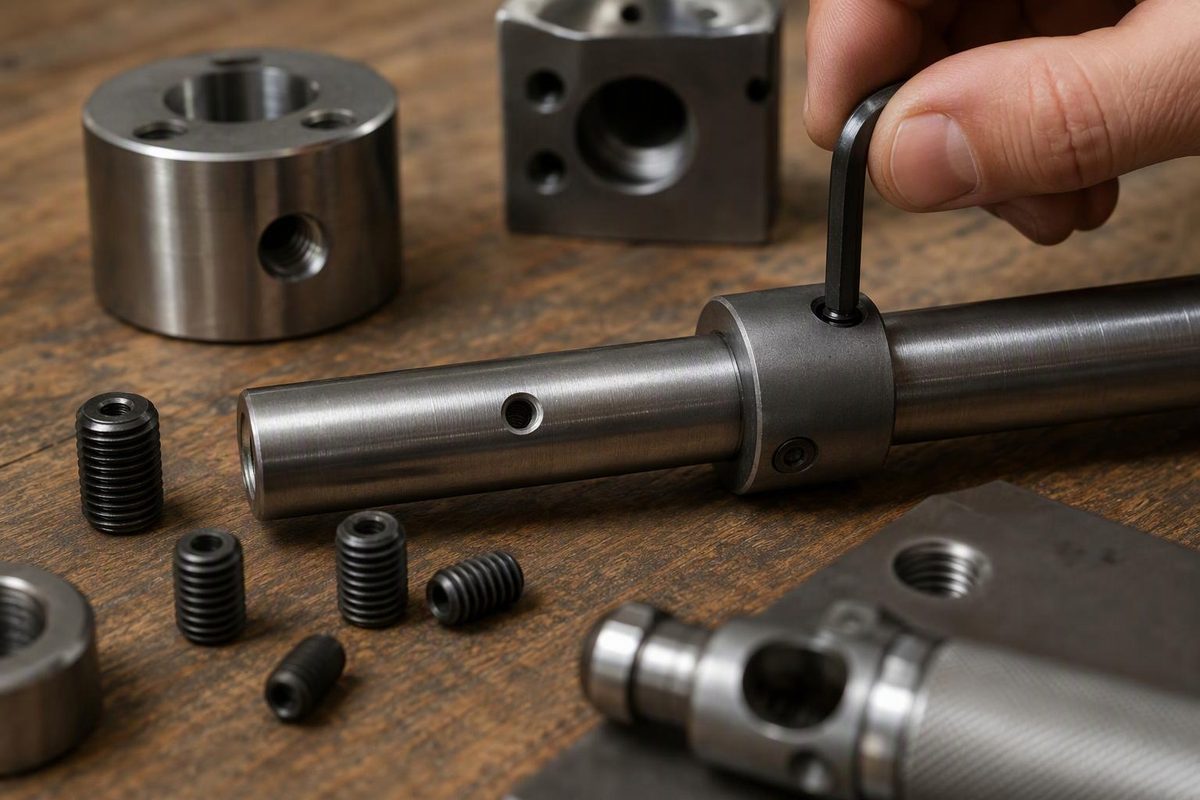
A set screw holds a component by contact at its tip—for example, securing a pulley hub, knob or collar against a shaft. The familiar headless, hex-socket version is also called a grub screw; square-head versions exist too. Unlike a conventional bolt joint, there is no screw head bearing against the outside of the hub to create the clamp. Huyett’s set screw guide describes these arrangements.
For a replacement, match more than diameter. The point shape, shaft material, screw length and usable hub threads all matter.
Choose the point before ordering
Inspect the old screw’s contact end and the shaft beneath it. A replacement with the right thread but a different point can change how the joint holds—and how much damage it leaves.
| Point | Contact and practical choice |
|---|---|
| Cup | A thin circular edge digs into the contact surface. Suitable where that indentation is acceptable. |
| Flat | A level tip makes good contact on a flat surface. Consider it for an existing shaft flat or an adjustable arrangement, but do not assume it cannot dent soft material. |
| Cone | A sharp tip wedges into the contact surface, particularly on soft materials such as brass. Choose only where penetration is intended. |
| Dog / extended | A cylindrical projection enters a matching hole or slot. Its diameter, projection length and mating feature must fit—not merely its thread. |
These contact geometries are described in McMaster-Carr’s point-selection guide. A dog point’s restraint depends on the mating geometry: a hole and a circumferential groove do not permit the same movements.
Do not rely on a cup point biting into every shaft. Ruland explains that set-screw collars obtain their maximum grip when the shaft is softer than the screw, allowing the point to penetrate. That penetration can raise a burr, making subsequent removal and fine adjustment difficult. If protecting a precision shaft or repeatedly repositioning a collar matters, consider a properly selected clamp-style collar instead. Ruland’s shaft-collar guidance explains the trade-off.
Identify the screw and available space
With the machine isolated from power and stored motion controlled, remove the screw and record:
- Thread diameter and pitch. Measure the external thread diameter and use a pitch gauge. Hex-key size does not identify the thread.
- Length and point dimensions. Compare the screw with the supplier’s dimensional drawing. For a dog point, record the projection diameter and length separately; confirm exactly what the drawing’s length dimension includes.
- Drive size and condition. Use a correctly fitting key or bit. A rounded socket is a reason to replace the screw, not to select a larger tool and force it.
- Material, finish and point type. Retain the original specification when available rather than treating stainless and hardened alloy steel as interchangeable.
An illustrative order description is “M6 × 1, 8 mm long, cup point, hex socket, specified alloy steel and finish.” That is an identification format, not a recommendation for every 6 mm hole.
Measure the actual hub as well. The screw must reach the shaft while retaining sufficient engagement in sound, full threads. Extra length sticking outside the hub does not add engagement. Check whether the contact surface is a round shaft, an existing flat or a prepared locating hole.
For a new hub, establish thread size, wall thickness and required engagement before drilling. Use the drill-and-tap guide for cutting-tap drill selection; do not confuse the tap-drill diameter with a clearance hole.
Assemble, then verify contact
- Clean and inspect. Remove chips from the tapped hole and socket. Inspect the shaft for raised burrs and the hub for damaged threads. Do not pull a close-fitting hub forcibly across a burr.
- Position the component. Align the specified flat or locating feature beneath the screw hole. Check axial location and surrounding clearances before tightening.
- Start without force. An ordinary, uncoated screw in clean, matching threads should advance freely until its point contacts the shaft. Unexpected resistance calls for inspection, not more torque; a specified thread-locking feature may add resistance before contact.
- Tighten to the assembly specification. Seat a straight-ended hex bit fully and use a torque tool suitable for the specified range. If threadlocker is specified, follow its preparation and curing instructions; it does not correct poor fit. If no assembly specification is available, do not substitute a screw-maker’s maximum torque as the target.
- Check the finished assembly. Confirm screw position, component location and unobstructed movement. On disassembly, inspect the contact mark to confirm that the point reached the intended surface.
Keep the screw within the assembly’s designed external envelope. Protruding screws on rotating collars can catch clothing, a hazard described in Ruland’s collar guidance.
A torque limit is not a holding-load rating
Do not transfer an ordinary bolt-torque value to a same-size set screw. Unbrako’s metric sheet, for example, lists 7.8 N·m as the maximum tightening torque for its M6 high-grade alloy-steel set screws, with a note that its torques are calculated at 75% of the torsional shear strength of the respective Unbrako wrenches. That is not proof that a scratch-built aluminum hub can tolerate the setting. The same sheet calls its holding-power values typical strengths requiring application-appropriate safety factors. Unbrako’s specification sheet provides those limits and qualifications.
A component that does not move by hand has passed only a basic assembly check—not a service-load test. For a scratch-built joint, establish the required axial and torsional capacity separately, including shock loads. Where slipping or separation could cause injury, use a designed, rated retention arrangement rather than accepting one set screw because it feels tight.