
Self-Tapping Wood Screws: Choose and Seat the Right Screw
Choose self-tapping wood screws by wood type, head, thread length and coating, then assemble without leaving gaps, splitting the stock or overdriving.
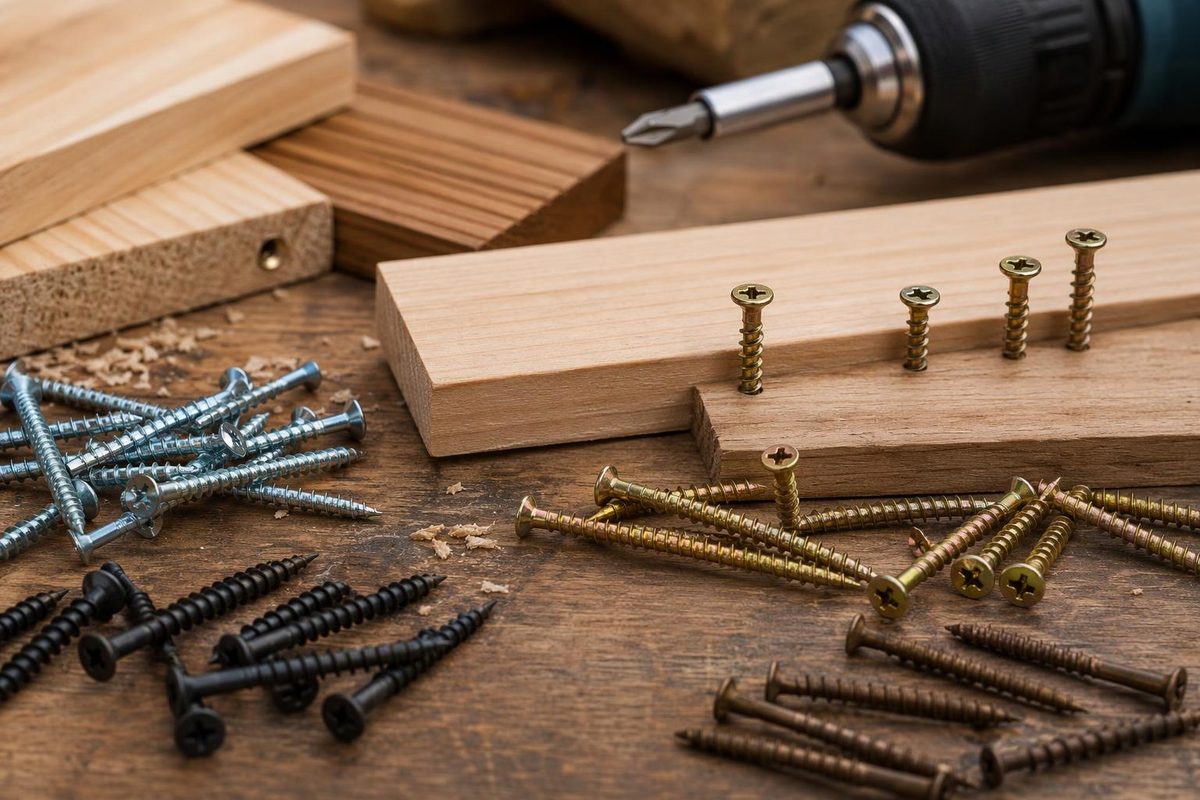
Choose a screw intended for the receiving wood—not simply one labelled “self-tapping.” The label describes a screw that makes its mating thread as it turns; it does not guarantee installation without a pilot hole. For example, the GRK R4 evaluation report identifies the screws as self-tapping but still requires pilot holes under specified conditions.
For a plywood enclosure, wooden fixture or bracket fastened to a timber base, the useful choices are the screw’s head, thread arrangement, length and corrosion protection. Pilot-hole sizing is a separate decision.
Choose the screw around the joint
Match the head to its seat
- Flat countersunk head: use where a flush surface is needed and the material can accommodate the recess. Some construction screws have cutting features beneath the head: GRK’s R4, for example, has underhead teeth for flush seating.
- Pan, washer or wafer head: choose a flat-bearing underside for a flat seat, such as a suitable clearance hole in a metal mounting plate. Check that the head covers the hole and clears adjacent parts; do not force a conical head into an unsuitable flat seat.
- Pocket-hole screw: use the head and length specified for the jig. Kreg explains that its flat-underhead screws bear against the pocket’s flat bottom; an ordinary conical wood-screw head can deform the pocket and split the wood. Their self-tapping tip eliminates the separate pilot in the mating piece, not the drilled pocket itself. Kreg’s screw guidance covers that distinction.
Check where the threads will grip
For a conventional wood-to-wood joint that must pull closed, a partially threaded screw is useful when its smooth shank spans the upper piece and its threads engage the receiving piece. SPAX’s partial-thread guidance specifies a shank at least as long as the thickness of the component being attached.
A fully threaded screw can grip both pieces before their faces meet. Clamp the faces together first; where the joint calls for it, provide clearance through the upper piece so the screw grips only the receiving wood. Do not try to close a persistent gap by simply driving harder. This advice concerns ordinary clamping joints, not specialty double-thread or engineered structural arrangements.
Thread choice also belongs to the screw system. For Kreg pocket-hole screws, the manufacturer recommends coarse threads for softwood, plywood and MDF, and fine threads for dense hardwoods such as oak and maple. Do not transfer that rule automatically to every construction screw. Kreg’s selection guide gives the system-specific choices.
Measure length and check exposure
Measure the actual upper-piece or bracket thickness, then check the screw drawing’s length convention. Sketch where the threads and tip will finish: the receiving wood needs the specified engagement, while the tip must stay clear of the back face, cables and other hardware. Overall length alone does not establish useful threaded engagement. The R4 report’s dimension tables list overall length and thread length separately, with thread length including the tip.
For damp or treated timber, choose a finish explicitly approved for that exposure. Colour is not a corrosion rating. SPAX, for example, distinguishes its interior zinc finishes from HCR/HCR-X coatings approved for specified treated-lumber uses, and recommends stainless steel for certain tannin-rich woods and coastal exposure. Its coating guidance applies to those products—not to every plated screw.
Assemble without splitting or stripping
- Clamp and check alignment. Bring mating faces into contact before driving. Check head clearance and the intended tip position.
- Decide whether to predrill. Follow the exact screw’s instructions. Within its covered screw sizes and wood applications, GRK’s R4 report permits installation without predrilling in wood species with assigned specific gravity of 0.58 or less; other cases require the specified pilots. That is not a blanket permission for plywood or MDF: those materials are outside this report’s scope. Follow its spacing, edge and end-distance requirements too. See the installation requirements and covered materials. For bit selection, use the separate pilot-hole guide.
- Drive with a fully engaged matching bit. Keep the driver aligned and slow down as the head approaches its seat. Use a conservative drill-driver clutch setting for a trial joint in matching scrap; there is no universal clutch number.
- Stop at the intended seat. A countersunk head should finish flush, not buried. A flat-bearing head should seat without crushing the material beneath it. SPAX warns that overdriving wafer heads compromises published allowable loads. SPAX installation guidance.
Stop if the screw spins without tightening, the wood splits or the joint remains gapped. Inspect and correct the joint rather than adding more drive torque. Successful seating is an assembly checkpoint, not a verified load rating: for a load-bearing machine mount or structural connection, use a fastening arrangement supported for the actual materials, engagement and loading.