
Drill Bit for a Pilot Hole: Match the Screw and Material
Choose a pilot-hole drill bit for wood or metal screws, distinguish clearance holes, and check depth and fit before drilling the finished part.
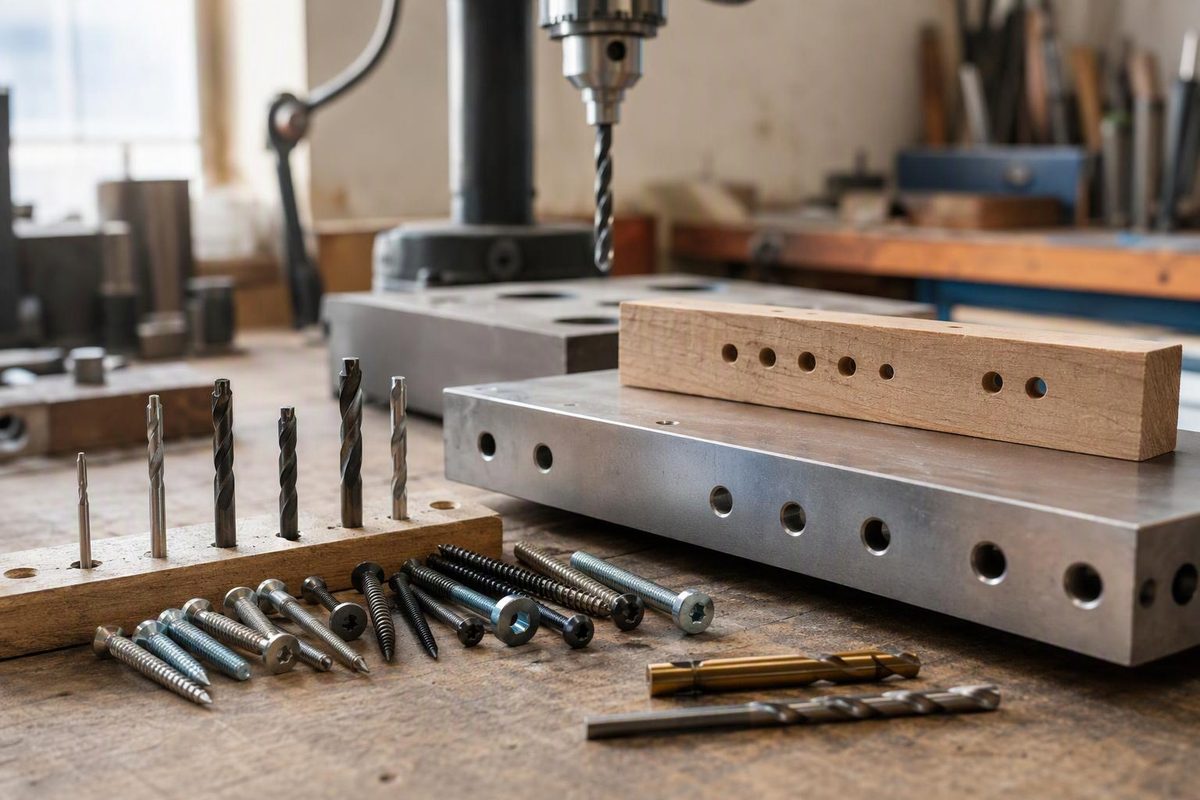
For a straight pilot hole in wood, start with a bit around the diameter of the screw’s solid core between the threads—not its outside thread diameter. Then check the screw maker’s recommendation, screw profile and wood type. Harder wood generally needs a larger pilot than softer wood. McFeely’s drilling guidance treats this as a starting point, not a universal dimension.
For example, the supplier charts below recommend a 1/8-inch straight bit for a #8 wood screw in hardwood, but 7/64 inch in softwood. A #8 self-tapping screw in metal needs a different recommendation. First identify what the screw will enter and which part of the joint should grip it.
Starting sizes for wood screws
These are straight pilot-drill sizes, not tapered-bit sizes, clearance holes or countersink diameters. The values agree in Bolt Depot’s wood-screw chart and McFeely’s drilling chart.
| Wood screw gauge | Straight bit: softwood | Straight bit: hardwood |
|---|---|---|
| #4 | 1/16 in. | 5/64 in. |
| #6 | 3/32 in. | 7/64 in. |
| #8 | 7/64 in. | 1/8 in. |
| #10 | 1/8 in. | 9/64 in. |
| #12 | 9/64 in. | 5/32 in. |
| #14 | 5/32 in. | 11/64 in. |
Use the table for an initial trial with ordinary wood screws. Do not transfer it to structural screws, lag screws, sheet-metal screws or screws intended for plastic. Product-specific instructions take precedence.
If the screw is loose or unidentified, hold a candidate bit alongside its threaded portion. Compare the bit’s cutting diameter with the root diameter, the solid core at the bottoms of the thread grooves. The threads should remain visible beyond the bit. This visual check can help select a trial size; it does not replace identification or a specified hole dimension.
Choose the bit geometry separately
A straight twist bit is a practical choice for a straight pilot hole. A brad-point bit is another option for wood: its center point helps locate the start, while its cutting edges produce a clean hole. Bosch specifies brad-point bits for both soft and hard wood.
A tapered wood-screw bit is not interchangeable with the same nominal size of straight bit. Its hole diameter changes with depth. McFeely’s drilling chart warns that drilling too deeply with a tapered bit can leave insufficient grip, while drilling too shallowly can jam the screw. Its screw-profile guide distinguishes traditional tapered profiles from modern production screws that work with straight pilot drills. Match the bit to the screw profile rather than assuming every wood screw needs a taper.
Give each layer the right hole
For a conventional screw joint, distinguish three features:
- Pilot hole: in the receiving piece, where the threads must grip.
- Clearance hole: in the attached piece, where the screw should pass freely.
- Countersink: the conical seat for a flat-head screw.
With traditional wood screws, a clearance hole through the upper piece lets that piece pull tightly against the lower one. An unthreaded shank extending into the lower piece may also need clearance there. This wood-screw hole guide explains that arrangement. Do not enlarge the entire receiving hole to clearance diameter.
For a flush head, use the separate countersink and drill-bit guide; pilot diameter does not determine the head seat.
Drill a trial before the finished part
- Plan penetration. Lay out the screw at its seated position. Separate the thickness it passes through from the length entering the receiving piece, and check the remaining material behind the tip.
- Set depth. Use a depth stop where breakthrough would damage the part. Account for the bit’s projecting point when checking the back face. For a tapered bit, follow its screw-length and depth-setting guidance rather than applying a straight-bit setting.
- Clamp and drill straight. Test on an offcut of the same material and thickness, using the intended screw and a similar edge position.
- Check seating. Drive slowly. Stop if the wood splits, the drive recess starts damaging, or the screw binds before seating. If it spins without drawing the joint together, do not count the hole as a successful fit.
A clean trial confirms basic installation behavior—not the joint’s load capacity. Inspect the finished hole and joint too; the bit’s marked diameter is a tool selection, not verification of the finished part.
At a drill press, wear eye protection, secure the work with a clamp or vise, and do not wear gloves. Stop the machine before measuring or adjusting. These are CCOHS drill-press safety practices.
Metal screws need their own data
For self-tapping screws in metal, match the screw type, parent material and thickness to the manufacturer’s hole guidance. TR Fastenings’ inch Type AB reference, for example, lists a #29 drill, 0.136 inch, for a #8 screw under its stated case-hardened-steel screw and joint conditions. Its metric table varies hole size with sheet thickness and material strength. Those conditions matter; the wood table is not a substitute.
Use the self-tapping screw guide for that joint. If a machine screw will enter a hole you cut with a tap, select a tap drill from the complete thread marking using the drill and tap chart, not the wood-screw core comparison.