
How to Use a Drill: Controls, Chuck and First Hole
Learn a drill’s controls, fit a bit securely, choose drilling or screwdriving mode, and make a first hole with a clamped, controlled setup.
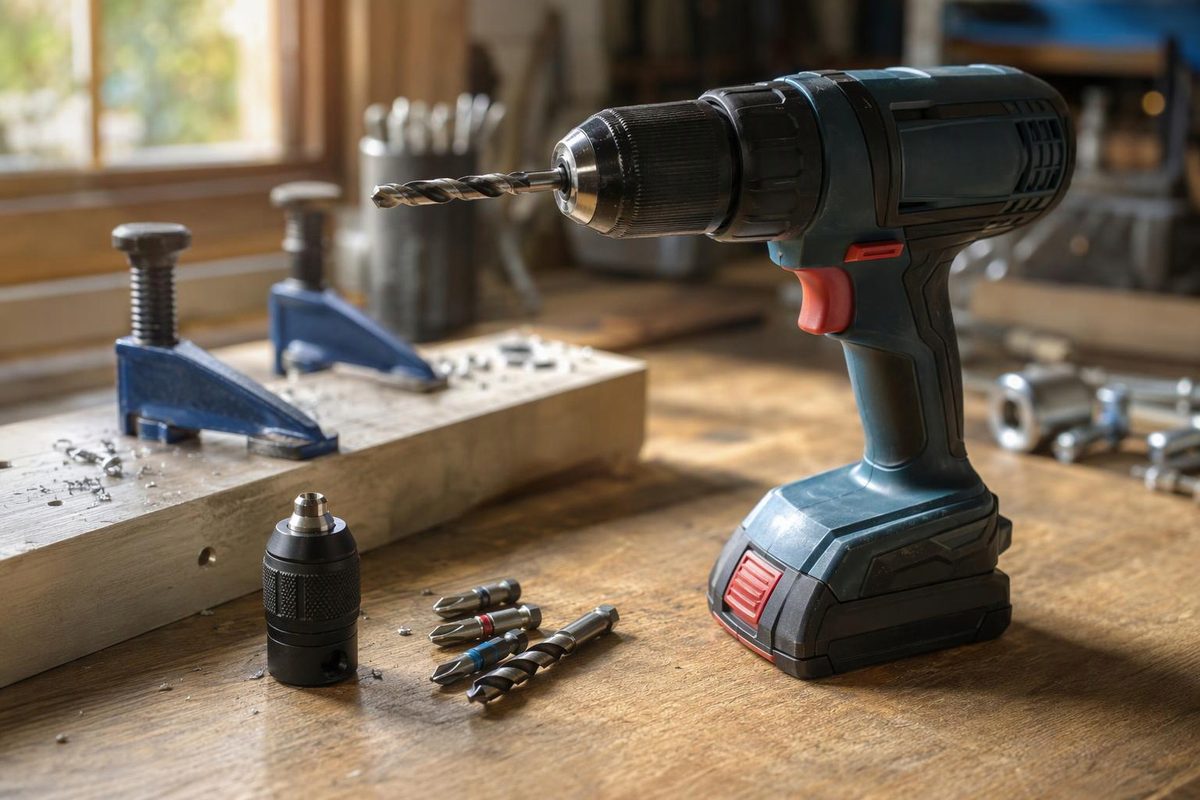
To use a drill, secure the workpiece, tighten the correct bit in the chuck, select forward rotation and the appropriate mode, then start slowly. Keep pressure in line with the bit and ease off as it breaks through.
This guide covers a handheld drill/driver for garage-shop holes and assembly. Controls vary, so check your model’s manual before starting. For a first attempt, use scrap rather than the finished bracket or machine base.
Know what the controls do
| Control | What it does | Starting point |
|---|---|---|
| Trigger | Starts the motor; on a variable-speed drill, squeezing farther increases speed | Squeeze lightly to start the hole |
| Forward/reverse switch | Changes rotation direction; many models have a center lock-off position | Use forward for ordinary drilling and driving right-hand screws |
| Gear selector | Changes the speed and torque range | On a typical two-speed drill, 1 is slower with more torque; 2 is faster with less torque |
| Numbered clutch collar | Limits driving torque at the selected setting | Start low when driving screws, then increase only as needed |
| Mode selector | Selects screwdriving, drilling or, if fitted, hammer drilling | Use the drill-bit symbol for holes in wood or metal |
The clutch numbers are relative settings, not a bolt-torque specification. Hammer mode adds percussion for suitable masonry work; leave it off for wood, metal and screwdriving. Some tools combine mode and clutch selection on one collar. Release the trigger before changing direction, and let the chuck stop completely before shifting gears. These functions are described in the DeWalt DCD780/DCD785 manual.
1. Prepare the work and protect yourself
Wear safety glasses. Tie back long hair and remove jewelry, loose clothing and gloves that could catch in rotating parts. Inspect the drill, cord or battery, and bit; do not use damaged equipment. Use hearing protection and dust controls appropriate to the work. See CCOHS powered-tool safety guidance.
Clamp the work to a bench or secure it in a vise. Never hold a small part in one hand while drilling it with the other: a caught bit can spin the stock. Support thin material with a sacrificial backing block, and leave clearance beneath the intended hole so the bit cannot strike the bench or vise. Keep hands out from underneath the stock. CCOHS drill guidance emphasizes clamping small stock and reducing feed at breakthrough.
Choose a sharp bit suited to the material, required hole diameter and drill capacity. Decide whether the hole is a screw pilot, bolt clearance or tap-drill hole before choosing its size. For screw pilots, use the separate pilot-hole bit guide.
2. Fit the bit in the chuck
Turn the drill off and remove the battery or unplug it before changing bits.
For a common keyless chuck:
- Hold the drill body and turn the chuck sleeve by hand to open the jaws.
- Place the bit centrally between the jaws, gripping its shank rather than its cutting flutes.
- Tighten the sleeve securely by hand, following your chuck’s instructions. Some chucks have two sleeves rather than one.
- With the trigger released, reconnect power, keep clear of the bit, and briefly run it slowly. If it visibly wobbles, stop, disconnect power and reseat it. Do not use a bent bit.
For a keyed chuck, use its key to tighten it as instructed, then remove the key before starting. Never grip the chuck and pull the trigger to tighten it. The manufacturer’s chuck instructions warn that this can cause injury; CCOHS also requires secure seating and true rotation.
3. Set the drill and make the hole
Select forward rotation and drilling mode. Choose the gear and operating speed for the bit diameter and material—not simply the fastest setting. For metal cutting-speed selection, see the HSS drill-bit guide.
Mark the hole center and position the bit on it. Hold the drill securely with both hands, using the supplied auxiliary handle where fitted and following your manual’s grip instructions. Be ready for a sudden twisting reaction if the bit catches. Keep the bit aligned with the intended hole axis; for a perpendicular hole, check alignment from two directions.
Squeeze the trigger lightly until the bit establishes the hole, then increase to the appropriate cutting speed. Apply steady pressure along the bit, without leaning it sideways or pushing hard enough to bend it or stall the motor. Ease the pressure as the point approaches the far side. Withdraw the freely cutting bit while it is still rotating, then release the trigger and wait for it to stop before setting the tool down. These movements follow the manufacturer’s drilling procedure.
If the bit jams, release the trigger immediately. Disconnect power before freeing it; do not repeatedly pulse the trigger against a stuck bit. That is also the advice in CCOHS drill guidance.
Once stopped, clear chips with a brush rather than your fingers. Let a hot bit cool before handling it. Remove burrs as needed and check the hole’s location, diameter and intended fit—the bit’s marking alone does not verify the finished part.
4. Use the clutch when driving screws
Disconnect power and replace the drill bit with a driver bit that fits the screw recess fully. Select a low-speed gear and a low numbered clutch setting; if there is a separate mode selector, choose screwdriving mode. Reconnect power with the trigger released. Keep the bit aligned with the screw and drive slowly, easing off as the head approaches its seat.
Try the setting on scrap of the same material. If the clutch releases before the screw reaches the intended seat, increase it gradually; stop if the recess slips or the material starts crushing. The DeWalt screwdriving procedure recommends starting with lower torque settings and testing before increasing them.
For machine screws, start the threads by hand before using the drill to run them in. Where the assembly requires a specified final torque, finish with the appropriate torque tool—not the drill’s clutch. Use the manufacturer’s joint specification and the checks in bolt torque basics.