
8-32 Drill and Tap Size: Use a #29 Drill
Use a #29 drill (0.1360 in.) for an 8-32 cutting tap. Check clearance-hole sizes, fractional substitutes, tap type and finished thread fit.
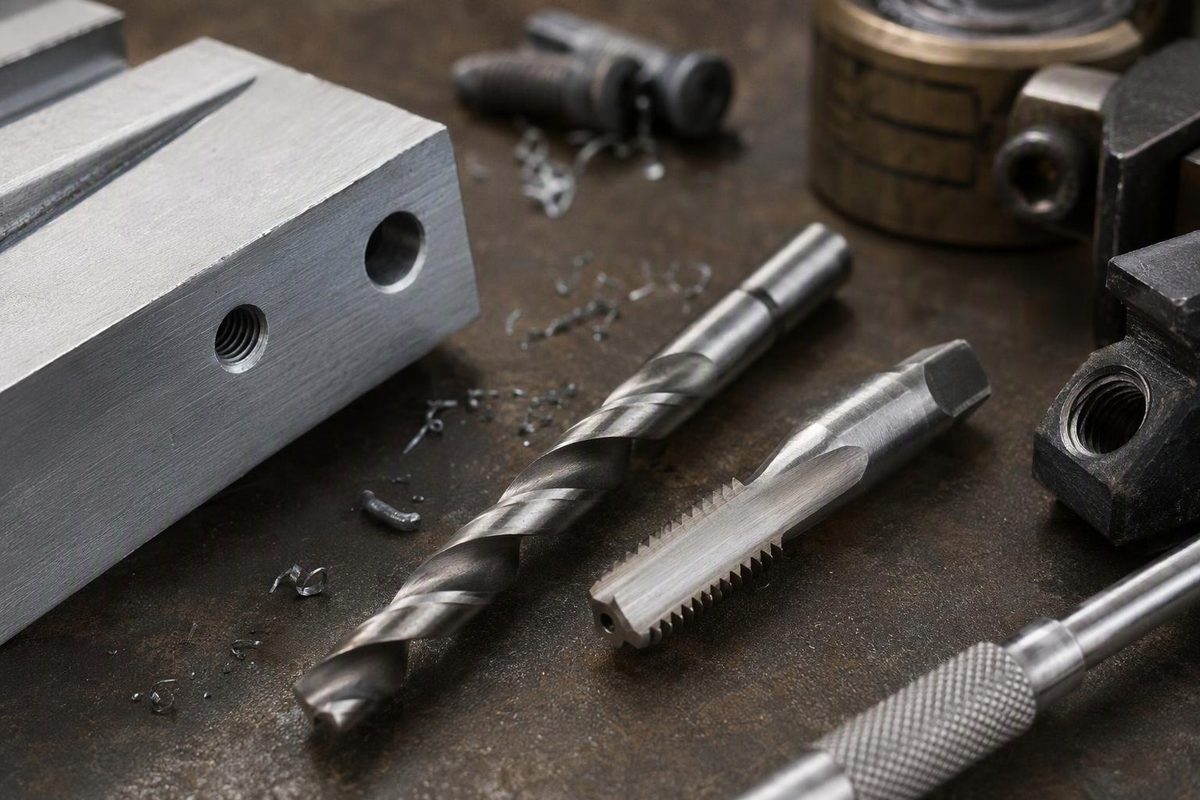
For a standard 8-32 cutting tap, use a #29 drill bit: 0.1360 inch, or 3.4544 mm. Then cut the thread with an 8-32 tap. American Fastener’s tap-drill chart lists that exact pairing; Bolt Depot also specifies #29 in its 75% thread-depth table.
That is a hole to be threaded, not a hole for the screw to pass through freely.
Tap hole versus clearance hole
| What the hole must do | Drill size | Nominal diameter |
|---|---|---|
| Receive an 8-32 thread cut with a standard cutting tap | #29 | 0.1360 in. / 3.4544 mm |
| Let a #8 screw pass through, close fit | #18 | 0.1700 in. / 4.3180 mm |
| Let a #8 screw pass through, free fit | #16 | 0.1770 in. / 4.4958 mm |
The clearance sizes come from the University of Florida’s tap and clearance drill chart. For a cover screwed onto a tapped block, drill clearance holes in the cover and tap-drill holes in the block.
In 8-32, “8” is the screw’s numbered size, with a nominal major diameter of 0.164 inch; “32” means 32 threads per inch, as shown in the University of Florida chart. It does not mean an 8/32-inch drill. Check the full tap marking before starting: American Fastener lists #29 for both 8-32 and 8-36, but those taps cut different pitches and are not interchangeable.
What if you only have fractional bits?
Neither nearby common fractional size is equivalent to #29:
- 1/8 inch = 0.1250 inch: 0.0110 inch smaller than #29.
- 9/64 inch = 0.140625 inch: about 0.0046 inch larger than #29.
The smaller hole leaves more material for the tap to remove; the larger hole leaves a shallower thread. For the standard chart result, get the #29 bit rather than choosing by eye. A 3.5 mm bit is also slightly larger, at approximately 0.1378 inch—not an exact conversion of #29.
Check the tap type and material
Do not use the #29 recommendation for a forming or roll tap. Those tools need a different starting hole. For example, Haas lists 3.8 mm for its 8-32 roll-tap recommendation and describes the chart as a starting point requiring adjustment for tolerance, material and hardness. Its roll-tap chart recommends drilling and reaming.
Even with a cutting tap, follow a specific toolmaker’s hole recommendation for your material when supplied. #29 is the common chart choice, not a universal process specification.
Drill, tap and check the finished part
- Plan the depth. For a blind hole, allow for the drill point, the tap’s incomplete lead threads and chip space. Required full-thread depth is not the same as total drilled depth. Cutting Tool Supply’s tap-drill depth guidance explains why the tap’s chamfer and accumulated chips need extra clearance.
- Clamp and drill square. Wear eye protection, hold the work securely and drill with the #29 bit. Remove the entry burr without making a deep countersink.
- Start the tap straight. Use a suitable tap wrench and cutting fluid appropriate to the material. For an ordinary straight-flute hand tap, follow its chip-breaking instructions. IRWIN’s hand-tapping guidance calls for keeping the tap perpendicular and periodically reversing to break chips.
- Clean and verify. Try a known-good 8-32 screw by hand through the intended engagement length. Stop if it binds; do not use tightening force to finish a rough thread. Confirm that a blind-hole screw will seat before its tip bottoms out.
A bit marked #29 gives the nominal drill diameter, not proof of the finished hole or thread. A screw-fit check is useful for shop assembly; a specified thread class requires the appropriate inspection or thread gauge. For the wider tool-selection and tapping sequence, see the tap and die guide.