
Torx Screw: Identify the Drive, Match the Bit and Tighten
Identify Torx, security Torx and Torx Plus screws, check bit engagement, and specify the thread, head and tightening conditions separately.
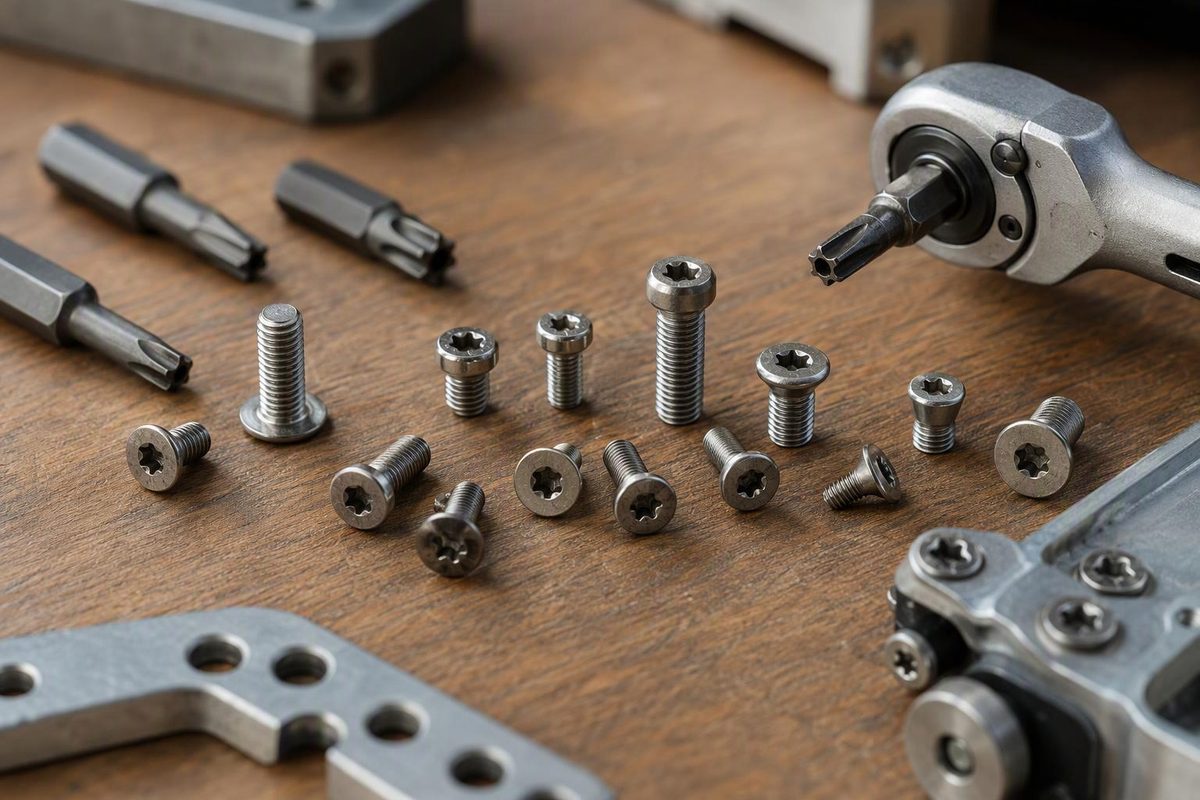
An ordinary internal Torx screw has a six-lobed, star-shaped drive recess. “Torx” identifies the drive—not the thread diameter, screw length, strength or tightening torque. Suppliers also describe this recess as hexalobular or six-lobe. Accu’s Torx cap-screw data uses these terms together.
For a repair, identify the drive and check the bit’s engagement before turning. For a scratch-built joint, specify the rest of the screw separately: a matching driver does not establish that the fastener suits the hole or load.
Identify which drive you have
Inspect the clean head under good light. Check whether the lobes are inside a recess or raised outside the head, and whether there is a center pin.
| What you see | Tool to select |
|---|---|
| Ordinary six-lobed internal recess | Matching Torx bit, commonly marked T or TX followed by its size |
| Six-lobed recess with a center pin | Matching security Torx bit with a hole in its tip |
| Torx Plus internal recess—a distinct six-lobed profile | Matching Torx Plus bit, commonly marked IP |
| Raised external Torx lobes | Matching external Torx socket, commonly marked E |
Acument documents the internal, external and center-post Torx variants. Tool markings vary: Wera, for example, calls its security bits with a bore hole “TORX BO” and lists Torx Plus bits marked IP. If the profile is uncertain, confirm it from the fastener drawing or part specification rather than relying on appearance alone.
Torx and Torx Plus are not simply two names for the same profile. Acument permits ordinary Torx tools for removing and reinstalling internal Torx Plus fasteners in service conditions; use the proper Plus tool for a new assembly. External Torx Plus requires its own sockets—ordinary external Torx sockets are not compatible. Its tamper-resistant version has five lobes and a center post, so a six-lobed security bit is not the answer. Acument’s Torx Plus guidance explains these distinctions.
Fit the bit before using power
Use the specified driver size when you have a drawing or part number. With an unknown screw:
- Clear the recess. Remove packed dirt or loose coating without altering the lobes or center pin.
- Insert a sound bit straight along the screw axis. Rotate it lightly until the lobes align, then seat it fully by hand.
- Check engagement. Reject a bit that only catches near the mouth, rocks noticeably or must be forced in. Small clearance is normal; partial engagement is not.
- Check tool access. The bit holder or socket body must not contact the surrounding part before the tip engages fully.
- Turn slowly and stay aligned. Stop if the tip slips, the lobes deform or the screw binds unexpectedly.
Do not select the smallest bit that will turn the screw. Do not use an Allen key as a near-fit substitute. If the recess is damaged enough that no correct bit engages securely, treat it as a damaged-fastener removal job rather than adding power.
Specify the screw separately from the bit
T20 does not mean a 20 mm screw. For example, Accu lists one ISO 14579 cap screw as M4 × 25 mm, with 0.7 mm thread pitch, A2 stainless material and a T20 drive. Those are separate specifications, not a universal conversion between M4 and T20. See the component’s technical specification.
Before ordering a replacement, record:
- Thread diameter, pitch and thread type: machine screw, self-tapping or another form.
- Length and the supplier drawing’s measurement datum; do not include a projecting head in an under-head length.
- Head shape, diameter and height, plus any required countersink angle.
- Material, strength grade or property class, coating and locking feature.
- Exact drive family and size.
For a flush-mounted screw, match the seat to the head—not to the Torx bit. The countersink and drill-bit guide covers angle, depth and finished seating checks.
Tighten to the joint specification—not the T-number
A well-engaged Torx drive can transmit torque effectively, but that is not permission to tighten harder. Torque depends on fastener size and strength, friction conditions and the joint. Fastenal’s torque-tension reference separates grades, materials and torque coefficients, and limits its recommendations to non-gasketed metal-to-metal joints. Use the equipment manufacturer’s tightening specification in preference to a general table.
For a machine screw, start the threads by hand, verify that the screw will not bottom before clamping, and bring the mating surfaces together without using the screw to force misaligned parts into place. Finish specified joints with a torque screwdriver or wrench in the appropriate range. Follow the stated lubrication or thread-locker condition; do not add either while keeping an unchanged dry-thread torque target.
After tightening, inspect the actual joint: the head should be properly seated, the parts held together and the recess undamaged. A seated head alone does not prove correct clamp load. Use the bolt-torque basics guide when deciding how to set and sequence final tightening.