
Spade Drill Bit: Choose and Drill Through Wooden Parts
Choose a spade drill bit for wooden bases and jigs, distinguish self-feeding tips, limit breakout, and check the finished hole before assembly.
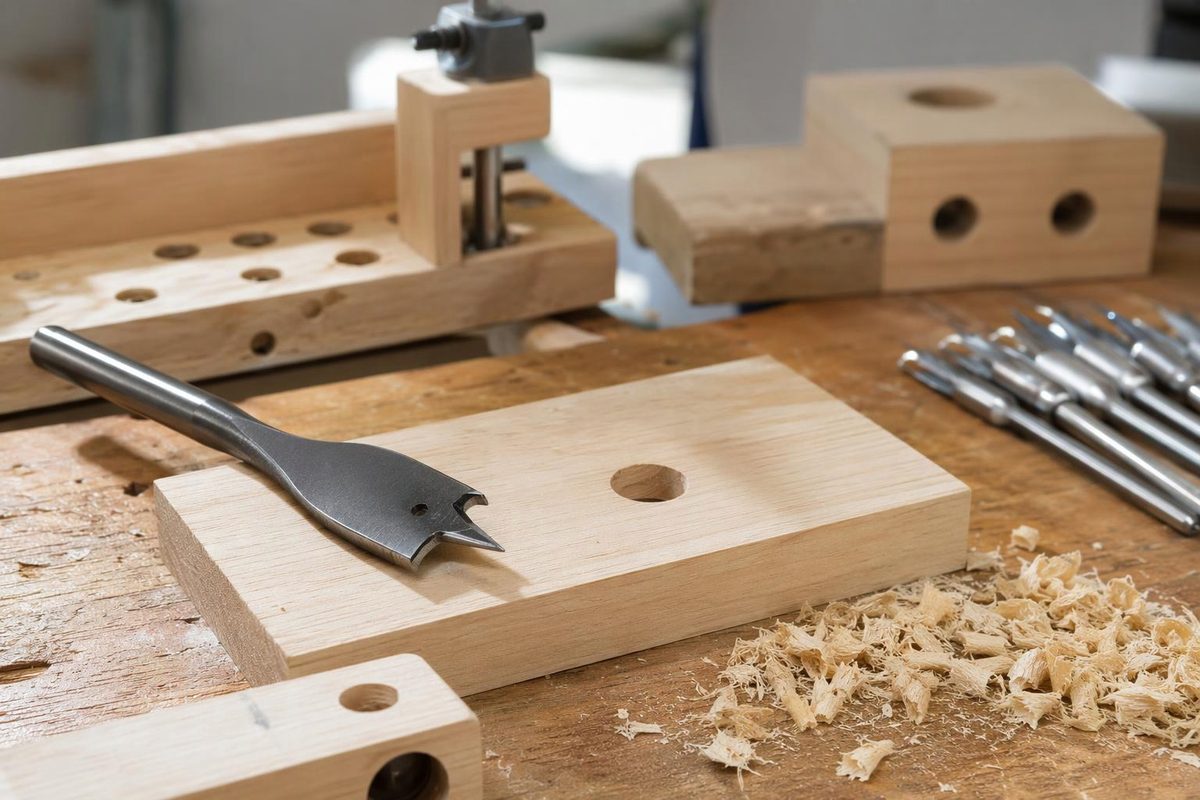
A wood-boring spade drill bit, also called a paddle bit, is useful for making relatively large through-holes in wooden bases, fixtures and jig parts when clearance matters more than a precision finish. Its flat blade cuts around a projecting centre point. This type of bit is not the cutter to choose for a steel bracket or aluminium plate.
The main decision is whether the hole merely lets something pass through or must locate a fitted part. Spade bits favour speed and can leave rough edges; for a locating dowel hole, consider a brad-point bit, and for a clean, flat-bottomed recess, choose a Forstner bit. The Home Depot’s drill-bit guide distinguishes those uses.
Choose by hole diameter, material and tip
Start with the required finished opening, not just the diameter of the bolt, cable or tube passing through it. Allow the clearance your assembly needs, then test that choice in scrap of the same material and thickness. A nominal bit size is a cutting target—not proof of the finished fit.
Check three details before buying or chucking the bit:
- Cutting diameter versus shank size. A 1/4-inch hex shank describes the connection to the drill, not the hole diameter. Bosch’s Self Cut Speed range, for example, uses that shank across many cutting diameters.
- Material rating. Check the particular bit’s approved materials, especially for hardwood or sheet goods. Bosch recommends its EXPERT Self Cut Speed primarily for softwood, with particleboard the toughest material recommended; that is not a blanket rating for every wood composite.
- Plain point versus threaded tip. A threaded tip pulls the cutter into the wood with little applied pressure. Do not feed it as though it were a plain-point paddle bit. Bosch’s product page explains the shank and self-feeding action; its training guide gives the material limits.
A hex shank alone does not establish impact-driver compatibility. Likewise, do not assume every paddle bit belongs in a drill press: Bosch explicitly excludes its threaded-tip Nail Strike bit from drill-press use. Check the instructions for the exact cutter and drill. Source: Bosch Nail Strike application guidance.
Drill a supported through-hole
- Lay out the centre from your reference edges. Check the location against the mating part before drilling. Inspect the cutter for damage and the stock for embedded fasteners; do not treat an ordinary spade bit as a nail-cutting tool.
- Clamp the work over a sacrificial board. Keep the backing board tight against the exit face, with room below for the projecting point. Clamp the assembly so it cannot rotate or lift. Wear eye protection, remove gloves and jewellery, keep loose clothing and hair clear, and use the drill’s auxiliary handle where supplied. Unplug the drill or remove its battery before fitting the bit. CCOHS recommends securing work for two-handed control and disconnecting power before accessory changes. Source: powered-hand-tool safety.
- Seat the point and start slowly. Hold the drill square to the surface for a perpendicular hole. Once the cutter is established, use the speed recommended for that bit, diameter and material—not a universal “low speed” rule. Apply steady feed to a plain-point bit; use light pressure with a self-feeding tip. Source: spade-bit operating guidance.
- Watch cutting progress. If the drill binds or stalls, release the trigger rather than forcing it. Wait for rotation to stop before investigating or clearing chips; unplug the drill or remove its battery before touching the cutter.
- Finish into the backing board. The backing supports the exit fibres and limits breakout. Bosch specifically recommends this setup for its Self Cut Speed bits, followed by gently withdrawing the bit in reverse. Follow your own bit’s withdrawal instructions. Source: Bosch’s drilling technique.
For a plain-point bit, another breakout-control method is to stop when the centre point emerges, turn and re-clamp the work, then finish from that point on the opposite face. Benchmark Abrasives describes both methods.
Check the hole before assembly
Remove loose splinters, then try the actual mating part. Check clearance through the full thickness, not just at the entry. If two wooden parts must align, dry-assemble them and check the passage through both.
For a washer seat or other blind recess, use a suitable Forstner bit rather than assuming a spade bit will leave a flat seat. The spade bit’s projecting point reaches deeper than the paddle’s cutting edges. Keep recess depth and remaining wall thickness separate from the diameter check.