
Metal Hole Saw: Choose the Cutter and Make the Cut
Choose a metal-rated hole saw, match RPM to diameter and material, control chips and breakthrough, then deburr and verify the finished opening.
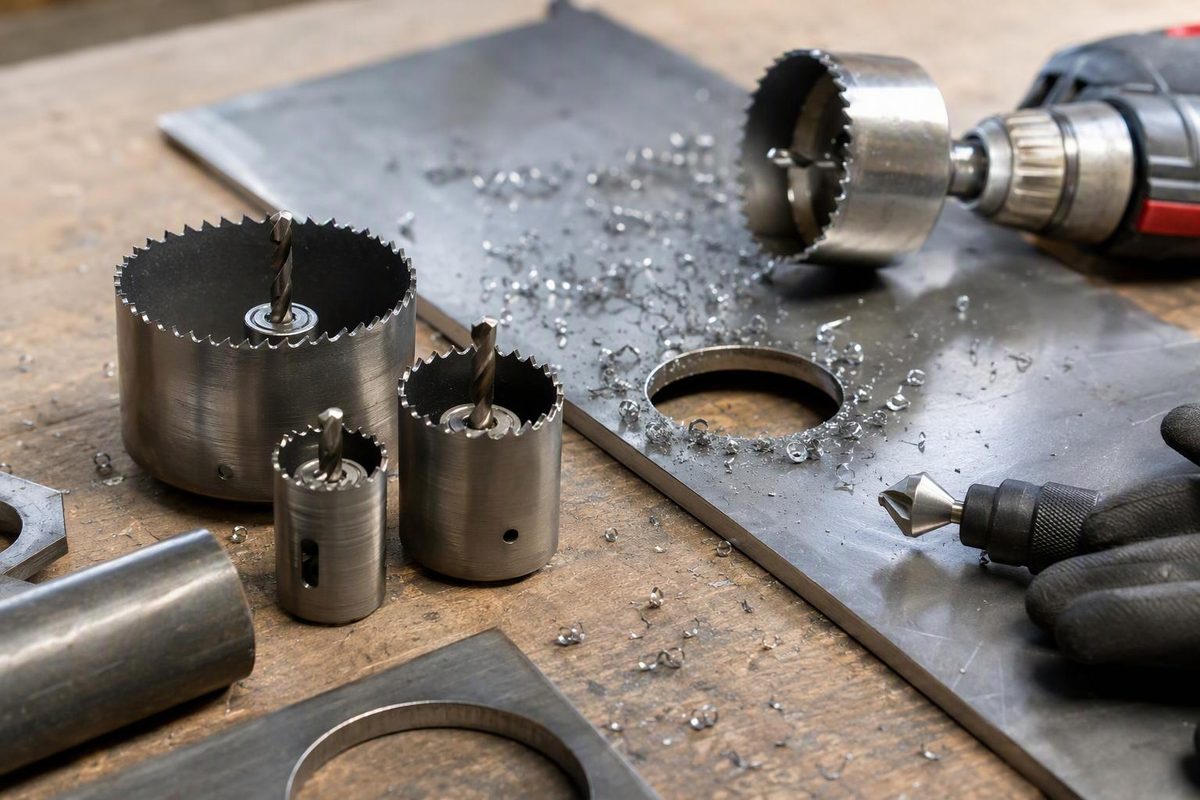
For an access opening in a steel bracket or aluminum panel, start with a bi-metal hole saw explicitly rated for that metal and thickness. For repeated cuts in stainless or high-alloy steel, consider a metal-rated carbide-tipped cutter. Match the arbor, check the cutting depth, and set the speed for the saw’s diameter—not for its small pilot drill.
A hole saw cuts a ring and leaves a solid core inside the cup. That makes it useful for larger openings without turning the entire hole into chips. Starrett’s hole-sawing guide describes this operation and identifies material, diameter and thickness as the main selection inputs.
Choose the saw before setting up the drill
Write down the required opening diameter, stock material, thickness and purpose. A cable opening and a close-fitting bearing seat are different jobs: for a tolerance-controlled seat, plan a finishing operation rather than treating the saw’s marked size as the verified bore.
| Workpiece | What to look for |
|---|---|
| Mild-steel sheet or aluminum panel | A bi-metal saw with a stated rating for the material and thickness |
| Thin sheet or thin-wall tube | A tooth pattern specifically intended for thin metal |
| Stainless or high-alloy steel, especially repeated holes | A metal-rated carbide-tipped saw or cutter; use that product’s speed recommendations |
| Thicker plate or deeper tube cuts | Adequate rated cutting depth, chip clearance and a suitable drill setup |
Do not buy by “carbide” alone; check the intended materials. Likewise, a deep cup does not establish that every material can be cut to its full depth. Starrett distinguishes its thin-metal Fast-Cut bi-metal saws from deeper-cut versions and recommends considering tungsten-carbide-tipped cutters for stainless and high-alloy steels. Those ratings belong to the specific product families, not every saw of similar appearance.
Check that the arbor fits both the saw and the drill chuck. Follow its assembly instructions, including any drive pins or locking mechanism, and secure the pilot drill at the specified projection. Check the drill’s permitted accessory capacity too; fitting the shank into the chuck is not the only requirement.
Set RPM for the cutting rim
Larger bi-metal hole saws need lower RPM. Stainless also calls for lower speeds than mild steel in the same saw-size range. These selected entries from EAB Tool Company’s bi-metal speed chart show the scale:
| Nominal saw diameter | Aluminum | Mild steel | Stainless steel |
|---|---|---|---|
| 1 in. | 525 RPM | 350 RPM | 175 RPM |
| 2 in. | 255 RPM | 170 RPM | 85 RPM |
| 3 in. | 170 RPM | 115 RPM | 55 RPM |
Use your saw maker’s chart where available. These are bi-metal examples, not carbide settings. If the drill press cannot reach the recommended low speed, change the setup rather than running at its lowest available speed regardless. On a handheld drill, select the appropriate gear and remember that trigger position is not a calibrated RPM reading. Use drilling mode, not hammer action; Milwaukee’s operator guidance separates metal drilling from hammer drilling in masonry.
Too much speed can make teeth rub instead of cut, building heat and damaging the cutting edge. More trigger is not the cure for a saw that has stopped making chips. Source: Starrett’s operating guidance.
Clamp, cut and clear chips
- Mark the center and check underneath. Center-punch where appropriate. Leave room for the pilot drill and cup to break through without striking the table, clamps or anything behind the part. Back thin material to help limit distortion and binding at breakthrough; Milwaukee’s drilling guidance recommends backing metal for this reason.
- Secure the work. Clamp the part to a stable support; do not hold it by hand. At a drill press, use a secured vise or clamps and keep the machine’s guards and shields in place. Wear eye protection, remove the chuck key, secure loose hair and clothing, remove jewelry, and do not wear gloves near the rotating cutter. The Construction Safety Association of Manitoba’s drill-press procedure identifies entanglement hazards and requires secure workholding. For handheld work, follow the drill manual’s grip and auxiliary-handle requirements.
- Start the pilot, then engage the teeth squarely. Keep the saw axis at 90 degrees to the surface. Feed steadily enough to make chips, without forcing the drill toward a stall. Tilting can bind the saw, deform the opening or strip teeth. In stainless, avoid prolonged rubbing—but do not respond by simply forcing a dull saw harder.
- Lubricate and clear the kerf. Use cutting fluid suitable for the metal and cutter. Starrett recommends cutting oil for metal hole sawing except cast iron. Withdraw periodically to clear accumulated chips; stop rotation before brushing chips away or touching the setup. Packed chips can be ground into abrasive debris. Starrett’s feed-pressure and cutting-fluid guidance supports square cutting, steady feed and frequent chip removal.
- Do not force the breakthrough. Maintain alignment and control through the last section. If the saw catches, stop and inspect the setup before continuing.
Deburr and verify the opening
Stop the tool and unplug it or remove its battery before removing the core or adjusting the arbor. Milwaukee’s safety instructions require preventing accidental starting before adjustments or accessory changes. Allow hot parts to cool and use the saw’s intended core-removal method.
Deburr both faces without unnecessarily enlarging the opening. Measure in more than one direction and check the actual mating part: a grommet should seat correctly, a sleeve should have the intended clearance, and the opening should be in the right position. The marked saw diameter is a tool selection; the cleaned, measured opening is the finished part.