
Why the Same Part Gives Different Caliper Readings
Diagnose inconsistent caliper readings by checking zero, contact position, handling and conditions before deciding what the measurements mean.
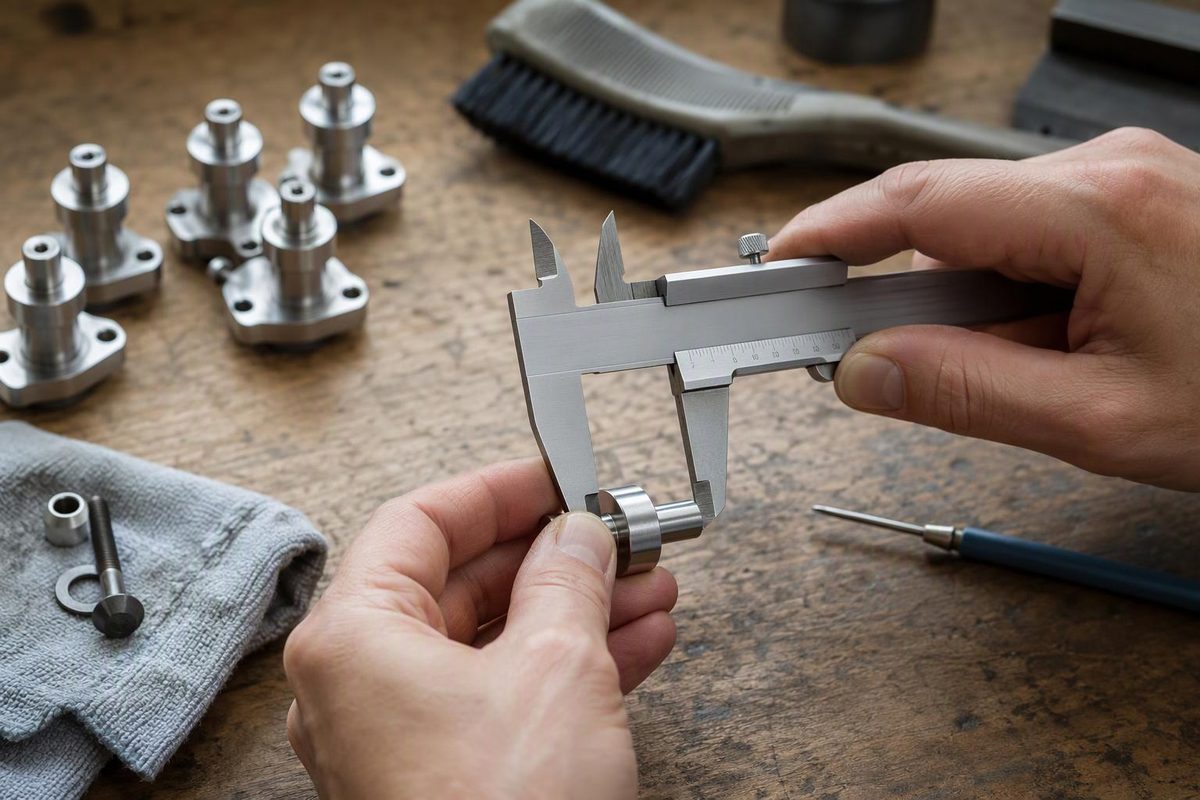
Keep the readings before you change anything
If a detached part reads differently each time, do not select the number you expected or average everything immediately. Write the readings, the feature and the measurement position. Then investigate the method in a consistent order.
This is a troubleshooting sequence, not a calibration procedure. It applies to accessible, stationary items and assumes the instrument is being used within its specified range and purpose.
Check the starting indication
Inspect the measuring faces and follow the manufacturer’s cleaning instructions. Mitutoyo recommends removing dust and dirt and checking the zero indication with the outside jaws closed. Its notes also identify force and jaw tilt as potential sources of error. Mitutoyo: General notes on caliper use.
Record whether the zero returns consistently. If it does not, stop treating the displayed part measurement as settled. Follow the model’s instructions for the next check or have the instrument assessed. Repeatedly pressing zero can hide the symptom without explaining it.
Repeat at one marked location
Choose a position on the sketch and return to it for each reading. Remove and replace the caliper between readings, using the same intended contact surfaces. Check that you are not alternating between a plain surface, chamfer and visibly damaged edge.
Use the manufacturer’s handling method and consistent light contact rather than squeezing until the display reaches a preferred value. Do not apply a universal “take the smallest” rule to every kind of measurement: outside, inside and depth measurements have different geometries.
Change location deliberately
Once the reading at one position is reasonably consistent for your task, measure another labelled position. Keep those series separate. If position A and position B differ, that is a reason to investigate the part’s form and the contact geometry; it is not yet proof of wear, taper or poor manufacture.
Photograph the contact positions if another person will repeat the check. A report of “measured three times” is incomplete when each reading may have sampled a different surface.
Check whether the conditions changed
Note if the part has just come from a hot process, a cold store or prolonged handling. Follow the instrument’s guidance for suitable measurement conditions. Avoid assigning a correction from a guessed material or temperature.
If a second suitable instrument is available, compare results using the same defined feature. Agreement is useful, but neither instrument becomes a certified reference merely because the displays match.
Decide whether the number can answer the question
NIST treats repeatability and accuracy as different concepts. A stable series therefore does not, by itself, prove an accurate result. NIST: Measurement terminology.
For approximate identification, your record may now be sufficient. For a tight tolerance or a reading near a limit, seek a measurement method that can support the decision. Keep unresolved readings in the record and label the result provisional; do not turn troubleshooting into an unsupported pass certificate.
For a tapered item, compare the contact-location notes with the Morse taper measurement-plane example; changing location there changes the dimension being sampled.