
Allen Wrench Bit for a Drill: Choose the Tip and Shank
Choose a hex driver bit by tip size, shank, reach and impact rating, then run screws in slowly and finish critical joints with a torque wrench.
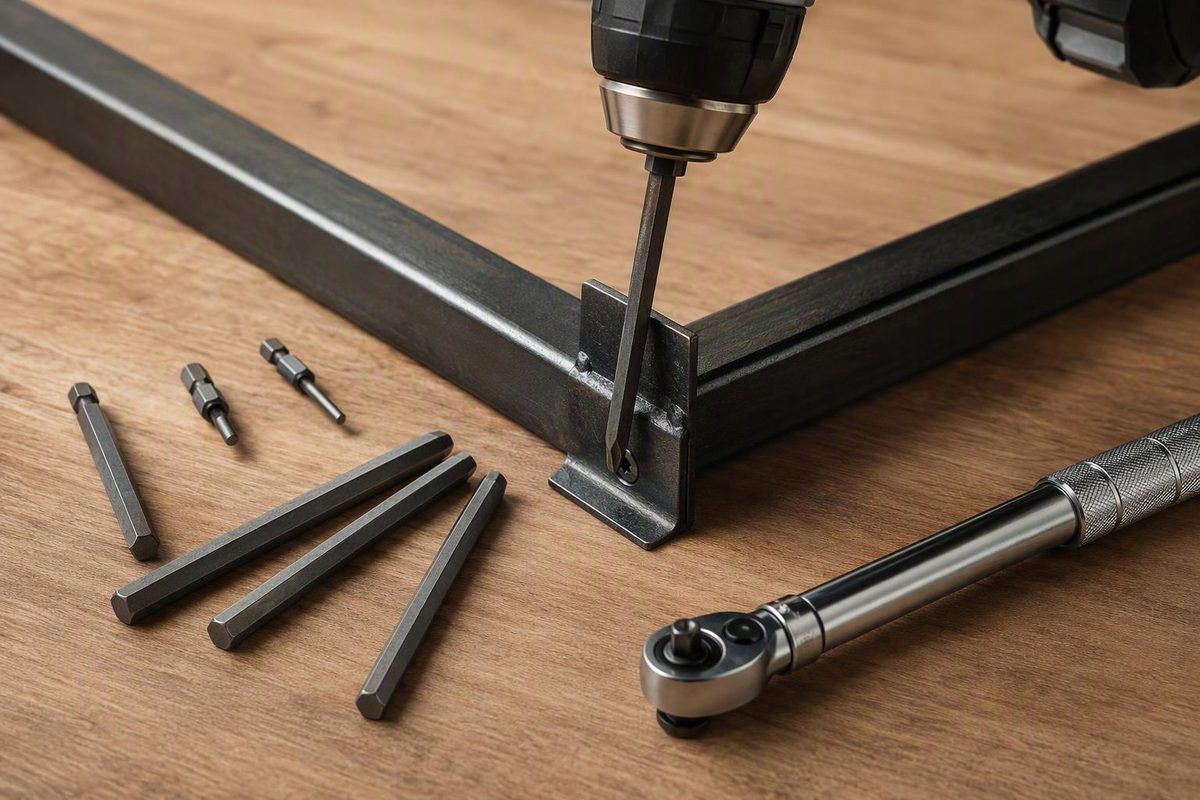
Yes—you can drive Allen screws with a drill/driver. The accessory to look for is a hex screwdriver bit, hex driver bit or Allen bit, not a cutting drill bit. Choose the exact tip size for the screw’s internal hex recess and a shank that your drill or bit holder accepts.
For ordinary assembly, a straight-ended hex power bit and a clutch-equipped drill/driver are a sensible starting point. Use power to run the threads in; reserve specified final tightening for the appropriate torque tool.
Two sizes matter: tip and shank
A listing such as “5 mm hex tip, 1/4-inch hex shank” describes two different interfaces:
| Specification | What to check |
|---|---|
| 5 mm tip | Fits the internal hex recess in the screw |
| 1/4-inch hex shank | Fits the drill chuck or compatible bit holder |
| Overall length and exposed reach | Allow full tip engagement without the chuck or holder hitting surrounding parts |
The 1/4-inch shank does not mean the bit fits a 1/4-inch Allen recess. Wera’s 840/4 Z range, for example, uses a 1/4-inch hex drive with separate metric and inch tip sizes.
Before ordering, clean the recess and check it with a known-size, unworn hex key. The correct tip should enter fully without forcing and without obvious rotational slop. Do not substitute a nearby inch size for a metric size just because it enters. For example, 5/32 inch converts to 3.96875 mm—not exactly 4 mm.
Also distinguish a hex-shank bit from a hex bit socket. A socket has a square-drive connection for a ratchet or torque wrench; it does not plug directly into a hex bit holder. Wiha’s 5 mm bit socket illustrates that arrangement.
Choose the format for access and control
- Short insert bit plus holder: Useful for changing sizes frequently. Check that the holder retains the bit and clears the surrounding parts.
- Longer power bit: Useful when the chuck would otherwise hit a bracket or counterbore. Choose enough exposed reach for full tip engagement, not simply the longest bit available.
- Straight hex end: The default choice when you can align the drill with the screw axis.
- Ball end: An access option when straight alignment is obstructed. Bondhus states that its ball-end power bits enter a screw at a 25° angle. That is a product-specific access claim, not permission to apply unrestricted torque at an angle.
A three-jaw drill chuck can grip a suitable hex-shank power bit or bit holder. A quick-change hex holder also needs the correct retention geometry; check compatibility rather than relying only on the nominal shank size.
If using an impact driver, select a bit—and any holder or adapter—explicitly rated for impact use. “Power bit” alone is not an impact rating. Bosch explains that its impact-rated bit design includes a torsion zone to absorb impact-driver torque peaks. For small machine screws and delicate assemblies, prefer the control of a clutch-equipped drill/driver or hand tool.
Run the screw in without damaging the joint
- Disconnect power before fitting the bit. Remove the battery or unplug the drill. Tighten the chuck securely or check that the quick-change holder locks onto the bit before reconnecting power. Secure loose work and wear eye protection.
- Start the screw by hand. Confirm that it turns freely in the mating thread before using power. If it binds immediately, back it out and check alignment and thread condition.
- Select screwdriving mode and a low clutch setting. Start slowly; low gear can help control speed, but does not itself limit tightening torque.
- Seat the tip fully and keep it aligned. Release the trigger when the clutch slips or before the head clamps the joint. Stop if the bit rocks, slips or starts damaging the recess.
- Finish deliberately. For a joint with a torque specification, stop powered rundown before final seating and use a correctly sized hex bit socket with a torque wrench of suitable range.
Makita’s XFD13 manual supports slow starting, straight bit engagement and releasing the trigger when the clutch cuts in. It also distinguishes numbered clutch settings from drilling mode, where the clutch does not operate. Follow your own tool’s manual for its controls.
Treat clutch numbers as settings, not verified N·m or in-lb values. For final torque, thread condition and multi-bolt tightening sequence, use the joint’s specification and the checks in bolt torque basics.