
Threaded Fasteners: Choose the Type for the Joint
Choose bolts, screws, studs, nuts or threaded inserts by material, access and joint function, then check fit and tightening conditions.
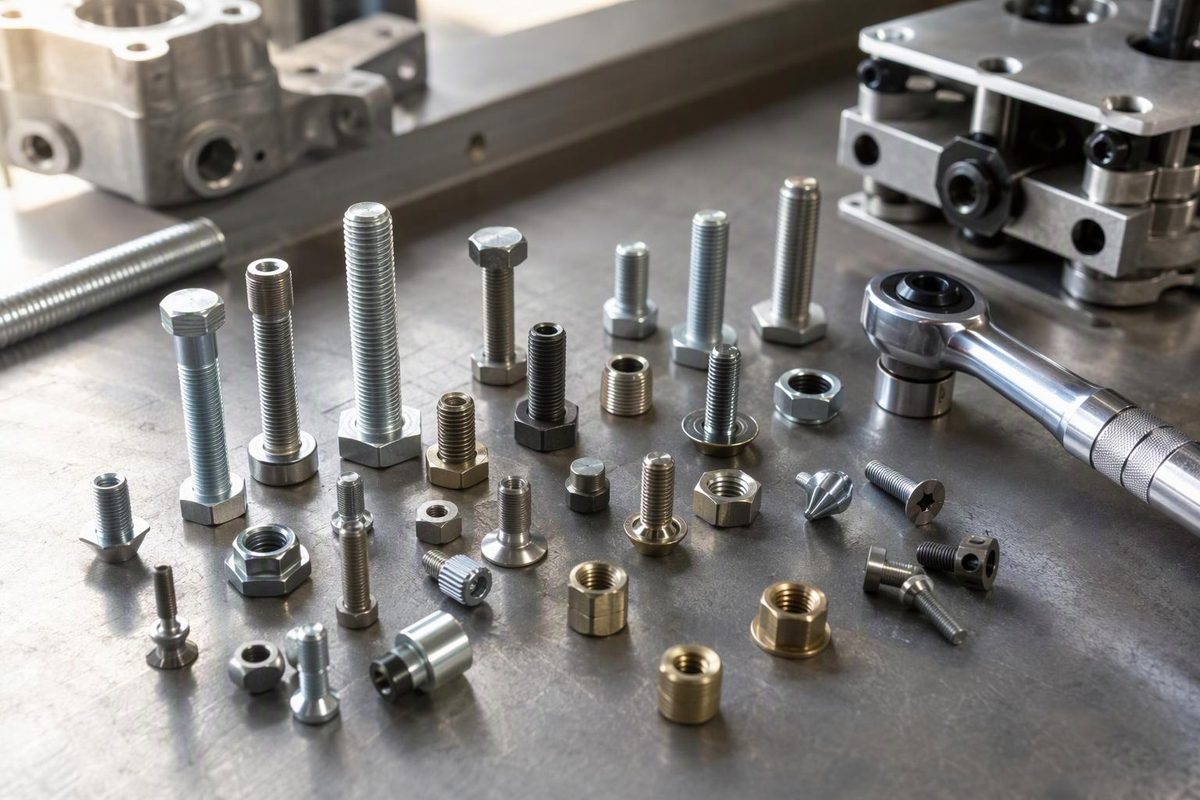
Threaded fasteners use mating helical threads to attach or retain parts. The main families are bolts, screws, studs and nuts, with threaded inserts providing an attachment point inside another material.
For a garage-built assembly, start with where the mating thread will live: in a loose nut, a tapped part, an installed insert, or material threaded by the screw itself. That choice determines the hole preparation, tool access and much of the assembly method—not just which head looks convenient.
How a threaded joint holds
In a conventional clamped joint, turning the bolt or nut draws the parts together. After the bearing surfaces seat, further tightening stretches the fastener and compresses the parts. The resulting tension is called preload; it supplies the clamp force. Much of the applied torque overcomes friction at the threads and beneath the turning head or nut, so torque is not a direct measurement of clamp force. Nord-Lock explains this relationship.
Not every threaded fastener serves that same purpose. A shoulder bolt can provide a pivot, for example. Decide whether the joint should clamp solidly or permit controlled movement before choosing hardware.
The main types and their roles
Bolt and screw names overlap in everyday catalogs: machine screws and hex bolts can both mate with a nut or tapped hole. Head shape alone does not establish the thread type or intended use. Bolt Depot’s type chart distinguishes these common families:
| Type | Mating thread or attachment | Useful starting point |
|---|---|---|
| Bolts and machine screws | Nut, tapped hole or suitable threaded insert | Joining metal parts with an existing machine thread |
| Shoulder bolts | Threaded end retains the assembly; smooth shoulder provides the pivot surface | Hinges, rollers and other pivoting parts |
| Self-tapping screws | Create their mating thread during installation | Direct fastening where the screw is specified for the receiving material |
| Self-drilling screws | Drilling point makes the hole before the screw engages | Sheet-metal fastening within the product’s stated drilling capacity |
| Wood screws and lag screws | Engage wood rather than a machine-thread nut | Attaching wood components with an appropriate pilot hole |
| Nuts | Internal thread mates with a bolt, screw or stud | Through-fastened joints with room for the nut and tool |
Studs have no bolt head. A fully threaded stud can work with two nuts, or with one end in a tapped hole and a nut on the other. Threaded rod supplies a longer, fully threaded length without a head or drive. Neither name establishes its strength grade. Bolt Depot’s stud and rod descriptions show the distinction.
Threaded inserts and captive nuts put a machine thread into a component that cannot conveniently provide one itself. Washers are related joint hardware, but ordinary washers are not threaded fasteners.
Choose by access and receiving material
Both sides accessible: consider a through-bolt and nut
This is a straightforward arrangement for a fabricated bracket: the fastener passes through clearance holes, and the nut supplies the internal thread. Before drilling, check space for both tools, the nut, any washers and the protruding fastener end. Also check whether you will still be able to reach the nut after installing nearby panels or machinery.
Enough solid material: consider a tapped hole
A tapped block or plate removes the need for a loose nut behind the joint. But the internal thread must resist stripping, not merely accept the screw.
Required engagement depends on material strength and thread geometry, including clearance and effective engaged length. Entry chamfers do not count as full engagement. Do not apply one engagement-length rule indiscriminately to steel, aluminum and other materials. Nord-Lock’s thread-stripping guidance explains those dependencies.
For a blind hole, separately check usable thread depth and end clearance; drilled depth is not necessarily usable thread depth. A screw that bottoms before its head seats has not clamped the parts properly.
Thin sheet: consider an installed threaded attachment
When sheet is too thin to provide adequate tapped threads, a rivet nut or self-clinching nut may provide the attachment point. Rivet nuts install from one side; clinch nuts generally require access to both sides and a pressing operation. Sherex’s application guidance describes these installation differences.
Choose the specific product by its hole requirements, sheet material and thickness, installation tooling and load data. A thread that accepts your bolt does not prove that the insert is securely installed.
Direct fastening: match the screw to the material
“Self-tapping” is not permission to drive any pointed screw into any stock. Thread-forming screws displace material to create a mating thread without removing chips. Hole preparation and suitability depend on the screw design and receiving material. Bossard’s construction guide gives separate recommendations for metals, stainless steel, thermoplastics and sheet-metal joints.
Check the complete assembly before tightening
Record and verify:
- Thread specification: diameter, pitch or threads per inch, thread system and hand—not just wrench size.
- Length and engagement: actual assembled stack thickness, usable thread depth and clearance beyond the end.
- Head and tool access: bearing seat, any recess or countersink, and room to install and later remove the fastener.
- Material, strength and finish: select compatible mating hardware; do not assume stainless steel is a strength upgrade. Corrosion and galling also affect material choice. Bolt Depot’s materials guide covers these considerations.
- Assembly conditions: specified lubrication, locking method and tightening procedure.
For ordinary machine threads, start the fastener by hand before applying a driver. Stop if it binds unexpectedly. Check the finished holes and assembled fit rather than assuming the drawing dimensions were achieved.
For existing equipment, follow the manufacturer’s hardware and tightening specification. For a new safety-critical joint, these category choices are only a starting point—not a load rating. Once the joint is specified, use bolt torque basics to understand how thread condition, lubrication and tightening sequence affect assembly.